Unlocking the Secret to The Best Chicken Parmesan: Crispy Perfection
Forget everything you thought you knew about homemade Chicken Parmesan. If you've ever dreamt of a dish that combines a gloriously crispy crust with incredibly juicy, tender chicken, all smothered in rich tomato sauce and gooey melted cheese – without a hint of sogginess – then you've come to the right place. This isn't just another recipe; it’s a revelation. We’re about to guide you through crafting what truly is
the best chicken parmesan you’ll ever sink your teeth into, a dish so exceptional it will easily surpass your favorite restaurant version. The key lies in understanding a few simple yet crucial techniques that guarantee maximum flavor and that coveted, satisfying crunch with every single bite. Prepare to elevate your weeknight meals and impress your dinner guests with this unbelievably flavorful and easy chicken parmesan recipe.
Mastering the Crispy Crust: Beyond Basic Breading
The foundation of any truly great Chicken Parmesan is its perfectly cooked chicken cutlet, and achieving that 'crispy, juicy' promise begins long before it hits the pan.
The Art of Thinning Your Chicken
The journey to
the best chicken parmesan starts with preparing your chicken breasts. Many recipes suggest slicing them thin, but we take it a step further: pounding. Start with boneless, skinless chicken breasts and cut them in half lengthwise to create thinner cutlets. Place each piece between two sheets of plastic wrap. Using a meat mallet, rolling pin, or even the bottom of a heavy skillet, gently but firmly pound the chicken until it’s about 1/2 inch thick. This not only tenderizes the meat but also ensures even cooking, preventing dry spots and promoting uniform crispiness across the surface. More surface area means more delicious breading!
The Ultimate Parmesan Panko Breading
For that signature, extra-crispy exterior, our breading is no ordinary mix. We create a dredging station with three distinct steps:
- Flour Power: A shallow dish with all-purpose flour, seasoned lightly with salt and pepper. This initial coating helps the egg wash adhere better.
- Egg Wash Excellence: Whisk together eggs with a splash of milk or water. This acts as the binder for our superior breading.
- Panko Perfection: Here’s where the magic happens! In another shallow dish, combine Panko breadcrumbs with a generous amount of freshly grated Parmesan cheese, along with a pinch of salt, black pepper, and perhaps a touch of garlic powder or dried oregano for extra flavor. Panko breadcrumbs, originating from Japanese cuisine, are renowned for their light, airy texture and superior crispiness compared to traditional breadcrumbs. The addition of Parmesan cheese directly into the breading not only infuses every bite with incredible savory flavor but also contributes to a richer, more golden-brown crust.
Dredge each chicken cutlet first in flour, shaking off excess, then dip into the egg wash, letting any excess drip away, and finally, firmly press into the Panko-Parmesan mixture, ensuring it's completely coated. For optimal results, once breaded, transfer the cutlets to a wire rack set over a baking sheet and refrigerate them, uncovered, for at least 30 minutes, or even up to 12 hours. This crucial step helps the breading adhere firmly, reducing the chances of it falling off during cooking and guaranteeing a truly
Super Crispy Chicken Parmesan: Better Than Any Restaurant experience.
The Golden Fry and The Non-Soggy Secret
Now that your chicken is perfectly prepped, it's time to bring that golden crunch to life.
Pan-Frying for Peak Crispiness
Heat a generous amount of neutral oil (like vegetable, canola, or grapeseed) in a large, heavy-bottomed skillet or cast-iron pan over medium-high heat. You want enough oil to come about 1/4 inch up the sides of the chicken. The oil should be hot but not smoking. A good test is to drop a few Panko crumbs into the oil; if they sizzle immediately, it’s ready.
Carefully place one or two breaded chicken cutlets into the hot oil, ensuring you don't overcrowd the pan. Overcrowding will drastically lower the oil's temperature, causing the chicken to steam rather than fry, resulting in a less-than-crispy outcome. Fry for about 3-5 minutes per side, or until deeply golden brown and cooked through. The exact time will depend on the thickness of your cutlets. Once cooked, transfer the crispy cutlets to a clean wire rack to drain any excess oil.
The Ultimate Anti-Soggy Hack: Cheese First!
This is perhaps the most revolutionary tip for achieving
the best chicken parmesan that defies sogginess: layer your cheese
before your tomato sauce. Once the chicken cutlets are pan-fried, place them on a baking sheet. Here’s
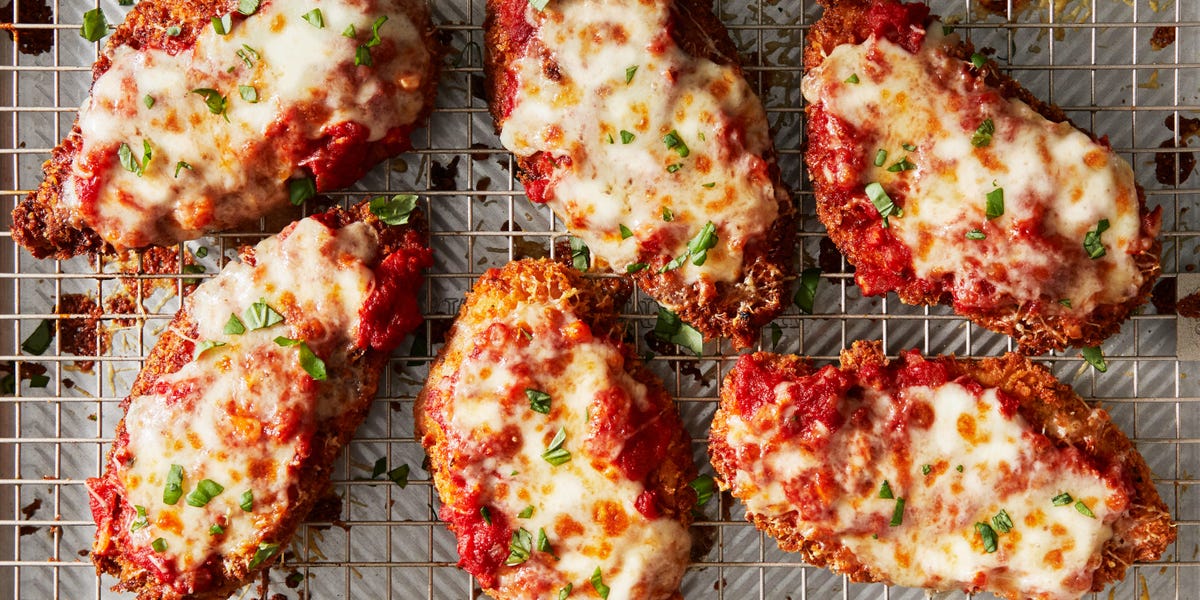
The Trick to Crispy Chicken Parmesan: No More Soggy!. Lay slices of low-moisture mozzarella cheese directly onto the hot, crispy chicken. The heat from the chicken will begin to melt the cheese, creating a delicious, gooey barrier. Only then, spoon your warm marinara sauce over the melted cheese. This sequence prevents the sauce's moisture from directly soaking into your precious breading, keeping it beautifully crisp even under a blanket of rich sauce and more cheese.
Assembling Your Masterpiece: Sauce, Cheese, and Finishing Touches
With your chicken crisped and layered, the final assembly is quick and rewarding.
The Perfect Marinara and Gooey Mozzarella
While a homemade marinara sauce from scratch offers unparalleled flavor, a high-quality store-bought sauce can also work wonders, especially if you give it a little boost. Sauté some minced garlic and a pinch of red pepper flakes in olive oil before adding your jarred sauce, simmering it with fresh basil for 15-20 minutes. This simple step elevates the flavor profile immensely, creating a bright, rich, and tomato-y sauce that perfectly complements the crispy chicken.
After layering the mozzarella directly on the chicken, spoon a generous amount of your warmed marinara over the cheese. Feel free to add a sprinkle of grated Parmesan cheese over the sauce for an extra layer of flavor.
The Broiler's Magic Touch
Place your assembled chicken Parmesan under a preheated broiler for just 2-4 minutes, keeping a very close eye on it. The goal is to melt the cheese completely until it's bubbly and slightly golden-brown, creating those irresistible, crispy edges on the cheese. The intense heat of the broiler quickly finishes the dish without overcooking the chicken, ensuring everything is perfectly heated and melded together.
Serving Suggestions and Why This Recipe is Truly the Best
Once out of the broiler, let your extraordinary Chicken Parmesan rest for a minute or two before serving. This allows the flavors to settle and prevents the cheese from sliding off.
Serve these magnificent cutlets immediately with your favorite pasta, tossed in a little extra marinara sauce, or alongside a simple, crisp green salad with a light vinaigrette. A sprinkle of fresh basil or parsley and an extra grating of Parmesan cheese on top add a professional touch.
What makes this truly
the best chicken parmesan? It's the harmonious balance of textures and flavors: the unapologetically crispy, Parmesan-infused crust that stays crunchy, the incredibly tender and juicy chicken beneath, the bright and savory marinara, and the luxurious, gooey blanket of melted mozzarella. Every technique, from pounding the chicken thin to the "cheese-first" layering, is designed to enhance these elements, creating a homemade dish that not only satisfies but deeply impresses. Say goodbye to soggy chicken parm and hello to your new favorite culinary masterpiece!