The Trick to Crispy Chicken Parmesan: No More Soggy!
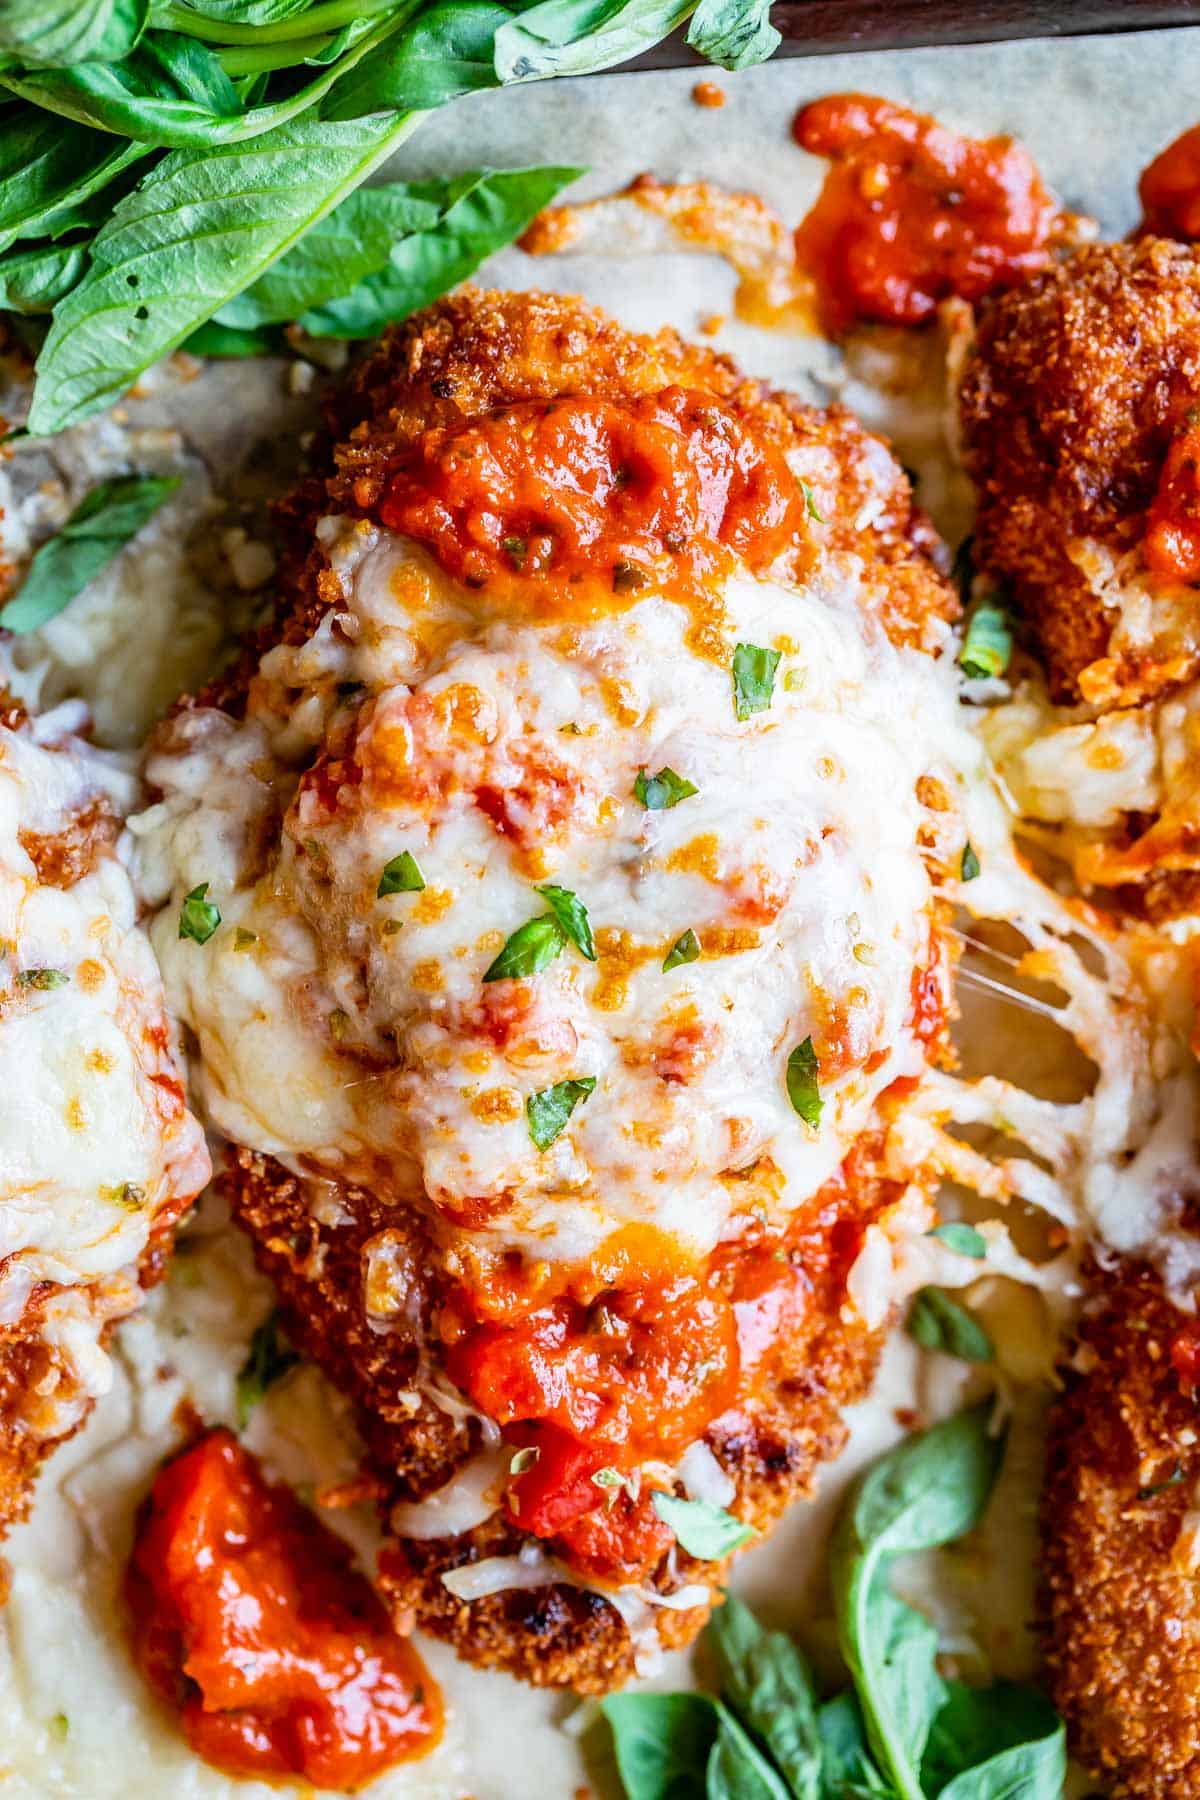
Imagine a dish that’s the epitome of comfort food – tender, juicy chicken encased in a golden, crunchy crust, blanketed under a rich, zesty tomato sauce and a luscious layer of melted mozzarella. This is the dream of
the best chicken parmesan. Yet, for many home cooks, this dream often turns into a soggy nightmare. The once-crispy breading yields to the moisture of the sauce and cheese, leaving a disappointing, flabby texture. But what if there was a secret, a series of simple yet transformative tricks, that guarantees a crispy chicken parmesan every single time, making it superior to even your favorite restaurant's version? Get ready to unlock the ultimate culinary secret to achieving perfectly crisp, incredibly tender, and gloriously cheesy chicken parmesan without a hint of sogginess.
The Foundation: Prepping Your Chicken for Perfection
The journey to an extraordinary chicken parmesan begins long before the breading touches the chicken. The preparation of your chicken breast is absolutely critical for both tenderness and even cooking, which in turn influences crispiness.
The first, and arguably most crucial, step is to prepare your chicken breasts by pounding them thin. Many recipes call for cutting chicken breasts in half lengthwise to create thinner cutlets. Once cut, place each piece between two sheets of plastic wrap on a clean cutting board. Using the flat side of a meat mallet, gently pound the chicken, starting from the center and working your way outwards, until it reaches an even thickness of about 1/4 to 1/2 inch.
Why is this so important?
- Even Cooking: Thinner cutlets cook much more uniformly. This prevents one part from being overcooked and dry while another is still undercooked.
- Faster Cooking: A thinner piece of chicken cooks quickly, reducing the time it spends in the pan and thus minimizing the chance for it to dry out, keeping it incredibly juicy and tender.
- Increased Surface Area: More surface area means more crispy breading per bite, and it also ensures the chicken cooks through rapidly before the breading has a chance to absorb too much oil and become greasy.
Once pounded, don't forget to generously season your chicken cutlets directly with salt and freshly ground black pepper. This crucial step layers flavor right into the meat, ensuring every bite is delicious, not just the coating. A properly seasoned piece of chicken forms the true heart of
the best chicken parmesan.
The Golden Crust: Crafting Your Crispy Breading
The breading is where much of the magic happens for that signature crispness. It’s not just about what you use, but how you apply it.
The secret to a truly outstanding and crispy crust lies in the composition of your breading mixture. While traditional breadcrumbs work, elevating them makes all the difference:
- Panko Power: Panko breadcrumbs are a non-negotiable ingredient here. Their light, airy, and flaky texture absorbs less oil and fries up significantly crisper than standard breadcrumbs.
- Parmesan Perfection: This is where the "Parmesan" in Chicken Parmesan truly shines in the crust itself. Replacing a portion of your panko breadcrumbs with freshly grated Parmesan cheese (or a high-quality pre-grated variety) adds a depth of savory, nutty flavor and contributes wonderfully to the crispiness. The cheese melts slightly during frying, creating a more robust and flavorful crust that resists sogginess.
For the dredging process, follow the classic three-step method:
- Flour: Lightly dredge each chicken cutlet in all-purpose flour, shaking off any excess. The flour helps to create a dry surface for the egg to adhere to.
- Egg Wash: Dip the floured chicken into an egg wash (typically whisked eggs with a splash of milk or water). Allow any excess to drip off. This acts as the "glue" for the breadcrumbs.
- Breading Mixture: Firmly press the chicken into your panko and Parmesan breadcrumb mixture, ensuring it’s completely and evenly coated. Don't be shy – pack those breadcrumbs on! Gently shake off any loose crumbs.
The Refrigeration Revelation: Here's a pro tip often overlooked: after breading, transfer your chicken cutlets to a wire rack set over a baking sheet and refrigerate them uncovered for at least 30 minutes, and ideally up to 12 hours. This period allows the breading to adhere firmly to the chicken, preventing it from falling off during frying. A firmer, drier crust also means less oil absorption and a much crisper end result. This step is a game-changer for guaranteeing a non-soggy outcome.
The Sizzle and the Secret: Frying and Layering for Unbeatable Crispness
Now that your chicken is perfectly prepped and breaded, it’s time for the sizzle! Proper pan-frying technique is crucial for achieving that golden-brown, shatteringly crisp exterior.
*
Hot Pan, Not Overcrowded: Start with a large, heavy-bottomed skillet over medium-high heat. Add enough neutral oil (like canola or vegetable oil) to come up about 1/2 inch the sides of the chicken. Wait for the oil to shimmer, indicating it’s hot enough. Crucially, cook the chicken in batches, making sure not to overcrowd the pan. Overcrowding lowers the oil temperature, leading to steamed, not fried, chicken – a direct route to sogginess.
*
Golden Perfection: Fry the chicken for about 3-4 minutes per side, or until it’s beautifully golden brown and cooked through. The internal temperature should reach 165°F (74°C). Transfer the fried cutlets back to a clean wire rack to drain any excess oil.
The Ultimate Anti-Soggy Trick: Cheese First, Sauce Second!
This is the moment you've been waiting for – the absolute best trick to ensure your chicken parmesan stays crispy even after being adorned with sauce and cheese. Instead of smothering the chicken with sauce and then cheese, reverse the order for a strategic barrier:
1.
Melt the Cheese: Once your chicken is fried, place the cutlets on a baking sheet. Top each piece generously with slices of fresh mozzarella (or shredded mozzarella).
2.
Broil Until Bubbly: Transfer the baking sheet to a preheated broiler (or a very hot oven, around 400°F/200°C) and broil for just 2-4 minutes, or until the cheese is beautifully melted, golden, and bubbly. This creates a protective, solidified layer of cheese over the crispy breading.
3.
Add Warm Sauce: ONLY after the cheese is perfectly melted and slightly browned, spoon a modest amount of warm marinara sauce over the *melted cheese*. The cheese acts as a waterproof barrier, preventing the sauce from directly saturating the crispy breading.
This technique is revolutionary. The cheese forms a shield, maintaining the integrity of your hard-earned crispy crust. It’s a simple swap that makes all the difference in achieving
Super Crispy Chicken Parmesan: Better Than Any Restaurant quality at home.
Beyond the Basics: Elevating Your Chicken Parmesan
While the core techniques guarantee crispiness, a few additional considerations can truly make your chicken parmesan sing:
*
The Sauce Matters: A bright, flavorful marinara sauce is essential to complement the richness of the chicken and cheese. Whether you opt for a high-quality store-bought option or prepare a simple homemade sauce with ripe tomatoes, fresh basil, and garlic, ensure it has a vibrant, fresh taste that cuts through the richness.
*
Cheese Choices: While mozzarella is classic, don't hesitate to experiment. A mix of fresh mozzarella, a touch of provolone, or even a sprinkle of aged Parmesan over the top before broiling can add layers of complex flavor.
*
Serving Suggestions: The best chicken parmesan is often served alongside a simple pasta dish, perhaps tossed in butter and a little Parmesan, or a light side salad with a tangy vinaigrette. This allows the chicken to remain the star of the show.
*
Exploring Variations: If you're looking for an overall simpler approach that doesn't compromise on flavor, our
Easy Chicken Parmesan Recipe: Crispy, Juicy, & Flavorful has you covered, focusing on efficiency without sacrificing quality.
Conclusion
No longer will the specter of soggy chicken parmesan haunt your kitchen! By embracing these straightforward yet powerful techniques – from meticulously pounding your chicken and crafting the perfect panko-Parmesan breading, to the critical refrigeration step, precise frying, and the ultimate "cheese-first, sauce-second" layering trick – you are now equipped to create
the best chicken parmesan imaginable. This isn't just about cooking; it's about mastering a classic, elevating it beyond restaurant standards, and delighting in every tender, juicy, and unapologetically crispy bite. So, roll up your sleeves, grab your ingredients, and prepare to forever banish sogginess from your chicken parmesan experience!