Super Crispy Chicken Parmesan: Better Than Any Restaurant
Tired of lackluster, soggy chicken parmesan that leaves you underwhelmed? Imagine a dish where every bite delivers an irresistible crunch, followed by incredibly tender, juicy chicken, all enveloped in a rich tomato sauce and gooey, melted cheese. This isn't just a fantasy; it's the reality you can create in your own kitchen. We’re about to unlock the secrets to making *the best chicken parmesan* you'll ever taste – a dish so superior, it will easily outshine anything you’ve had at a restaurant. Prepare to elevate your weeknight meals and impress your guests with this super crispy, flavor-packed masterpiece.
The Foundation: Preparing Your Chicken for Perfection
The journey to *the best chicken parmesan* begins with how you treat the star ingredient: the chicken itself. Achieving that perfect balance of crispy exterior and juicy interior requires specific preparation steps.
First, let's talk about thickness. Many recipes overlook this crucial detail, but pounding your chicken breasts extra thin is a game-changer. Aim for about 1/4 to 1/2 inch thickness. This isn't just for aesthetics; it ensures the chicken cooks quickly and evenly, preventing it from drying out and locking in all those delicious juices. Place a chicken breast between two sheets of plastic wrap and use the flat side of a meat mallet, starting from the center and working outwards. This gentle but firm action tenderizes the meat and creates a uniform canvas for your breading. Once pounded, season generously with salt and freshly cracked black pepper. This initial seasoning is vital for flavor that penetrates beyond the surface.
Crafting the Ultimate Crispy Coating
The key differentiator for *the best chicken parmesan* is undoubtedly its super crispy coating. We’re not just talking about any breading; we're talking about a meticulously crafted layer designed for maximum crunch and flavor.
You'll need a three-station breading assembly:
- Flour: Seasoned with a pinch of salt and pepper.
- Egg Wash: A mixture of whisked eggs and a splash of milk or water.
- Breadcrumb Blend: This is where the magic happens. Combine high-quality Panko breadcrumbs with a generous amount of freshly grated Parmesan cheese. Panko is essential here because its larger, flakier texture provides superior crispiness compared to regular breadcrumbs, while the Parmesan adds a depth of savory, nutty flavor and contributes to the golden-brown crust. Some recipes even suggest adding a touch of garlic powder or dried oregano to this mix for an extra aromatic kick.
Dredge each chicken piece first in the flour, shaking off any excess. Then, dip it into the egg wash, allowing any surplus to drip away. Finally, firmly press the chicken into the Panko-Parmesan mixture, ensuring every crevice is thoroughly coated. Don't be shy – really pack it on! Once breaded, transfer the chicken to a wire rack set over a baking sheet. This step is important for air circulation. For an even crispier, more resilient coating that won't fall off during cooking, refrigerate the breaded cutlets uncovered for at least 30 minutes, or even up to 12 hours. This allows the breading to set and adhere perfectly.
Pan-Frying for Golden Perfection & The Anti-Soggy Trick
With your perfectly breaded chicken ready, it's time to bring that crispiness to life through pan-frying. Heat about 1/3 to 1/2 inch of a neutral oil (like canola or vegetable oil) in a large skillet over medium-high heat. The oil needs to be hot enough to sizzle immediately when the chicken is added.
A crucial tip:
do not overcrowd the pan. Cooking in batches ensures the oil temperature remains high, allowing the chicken to fry rather than steam. Overcrowding lowers the oil temperature, leading to greasy, less crispy results. Fry each side until it's beautifully golden brown and crispy – usually about 3-4 minutes per side, depending on thickness. Once cooked, transfer the crispy cutlets back to the wire rack to drain any excess oil.
Now, for the absolute secret to ensuring your chicken parmesan remains super crispy, even under a blanket of sauce and cheese: the layering order. Many home cooks make the mistake of topping the chicken with sauce first, then cheese, which inevitably leads to a soggy crust. Here’s the game-changing technique:
layer the melted cheese before the tomato sauce. First, top each crispy cutlet with a generous slice or mound of fresh mozzarella cheese. Then, slide them under a preheated broiler for a few minutes until the cheese is beautifully melted, bubbly, and slightly golden. Only *after* the cheese is fully melted do you add a ladle of your delicious marinara sauce over the cheese. This creates a barrier, protecting that precious crispy breading from the moisture of the sauce. For more detailed insights on this, read
The Trick to Crispy Chicken Parmesan: No More Soggy!.
Elevating the Experience: Sauce, Cheese, and Serving
While the crispy chicken is the star, the supporting cast of sauce and cheese plays an equally vital role in making this *the best chicken parmesan*.
For the sauce, opt for a bright, flavorful classic Italian-American tomato sauce. Whether you whip up a quick homemade batch using quality canned tomatoes, fresh garlic, basil, and a touch of oregano, or choose a premium store-bought marinara, its fresh, vibrant flavor will cut through the richness of the fried chicken. A good sauce shouldn't be overly complex; its job is to complement, not overpower.
As for the cheese, use both fresh mozzarella (preferably low-moisture for less water content) and more freshly grated Parmesan. The mozzarella provides that satisfying gooey stretch, while the extra Parmesan amplifies the savory, umami notes.
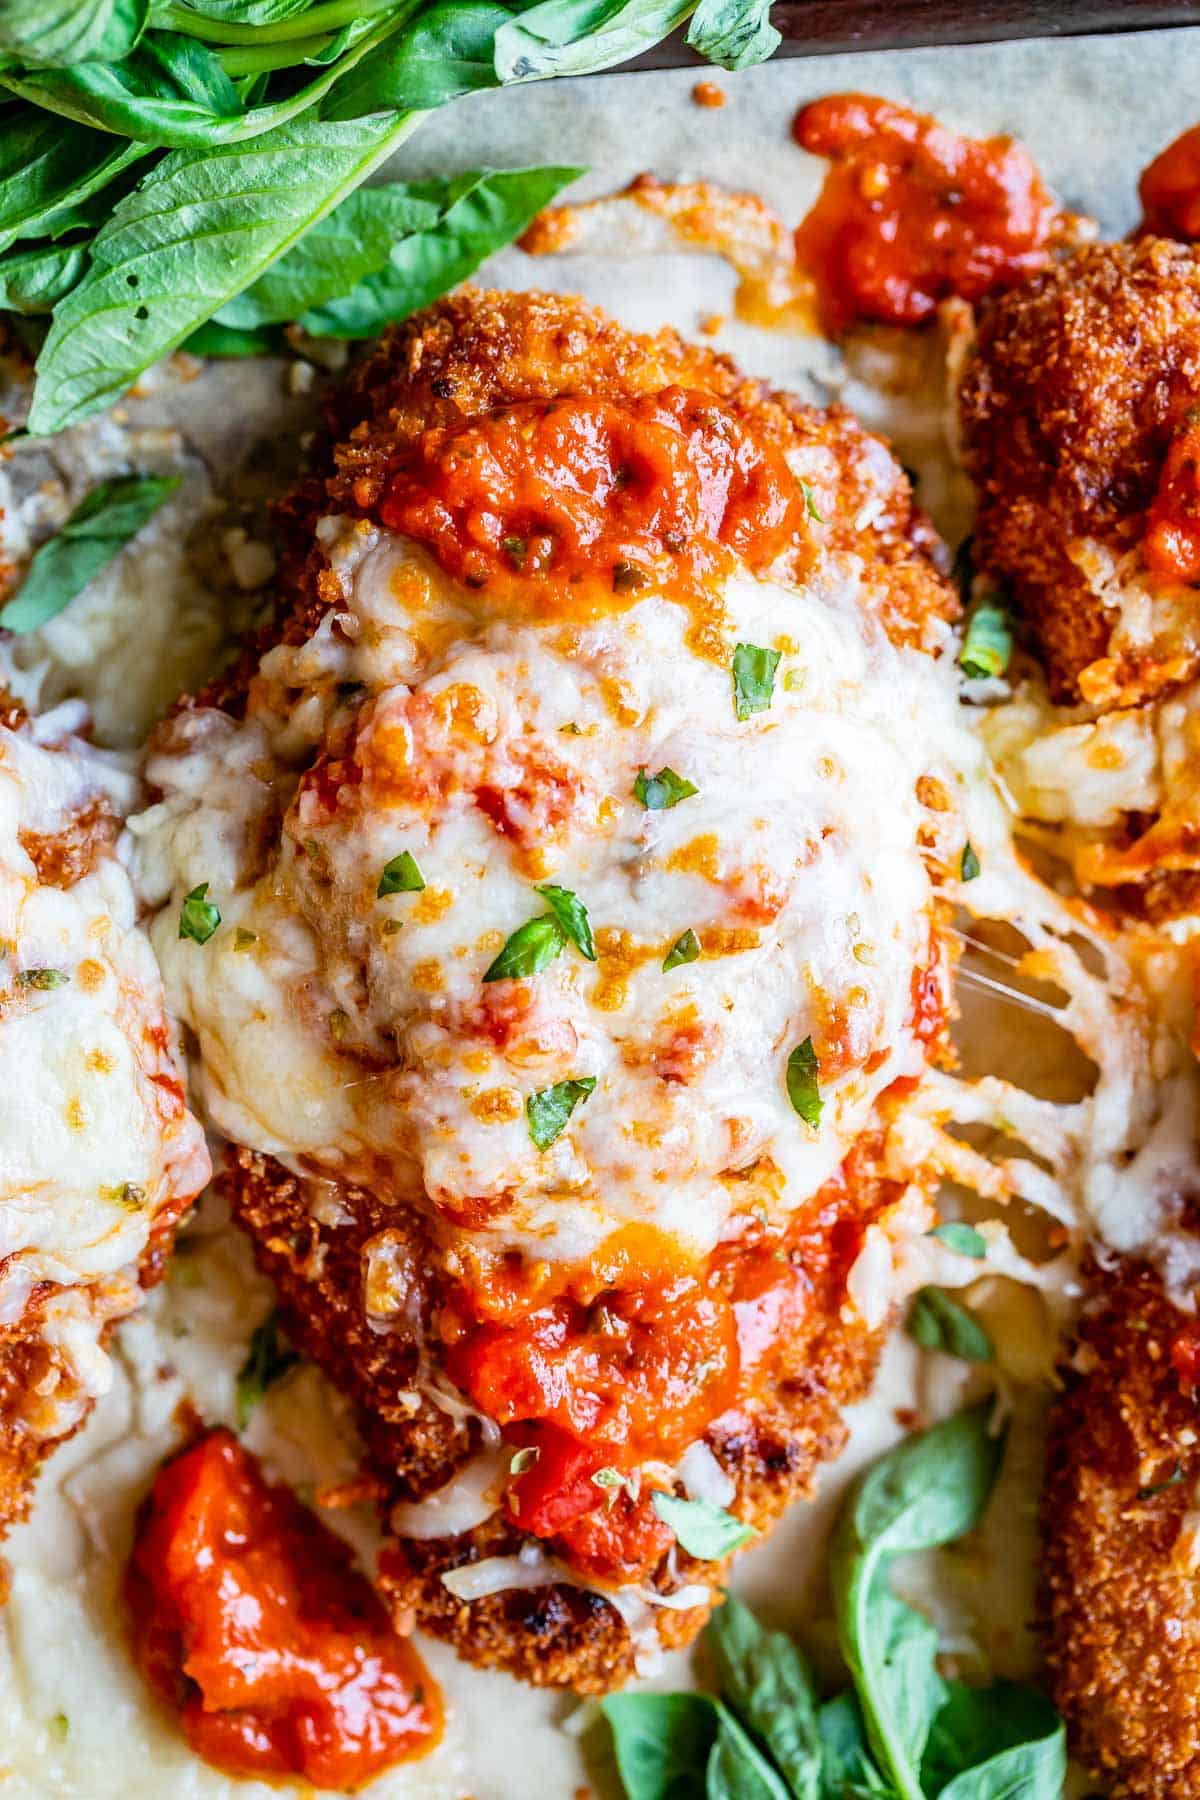
To serve, place your perfectly assembled Super Crispy Chicken Parmesan on plates. A sprinkle of fresh basil or parsley adds a pop of color and freshness. This dish is fantastic on its own, but it pairs wonderfully with a simple side of al dente pasta, a light green salad with a vinaigrette dressing, or even some crusty garlic bread to sop up any extra sauce. For a simple and straightforward approach to the full meal, consider our
Easy Chicken Parmesan Recipe: Crispy, Juicy, & Flavorful.
By following these detailed steps and embracing the subtle but powerful tricks – from pounding the chicken thin and using Panko-Parmesan breading to the crucial cheese-first layering – you will consistently achieve a dish that redefines what *the best chicken parmesan* can be. Say goodbye to soggy, forgettable versions and hello to your new go-to recipe for super crispy, incredibly juicy, and utterly irresistible chicken parmesan that truly is better than any restaurant. Get ready to savor every single, perfect bite!